RC Conversion - SB/5 Western Star.
PART 3 - Making The Deck.
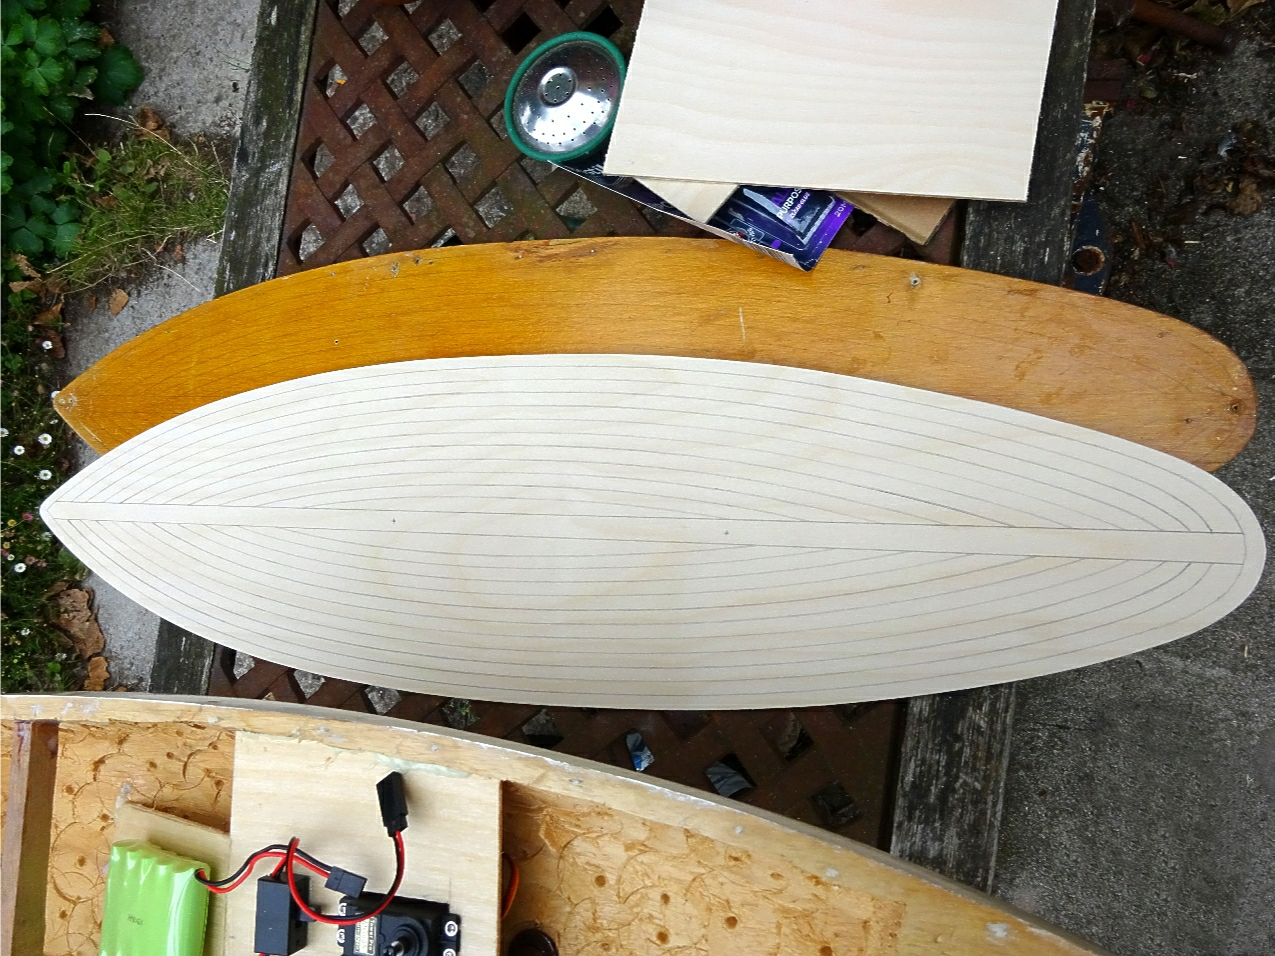
Using a sheet of 3mm plywood, the old deck was used as a template to draw out a new item. Using a fine toothed metal saw blade in a jigsaw, the outline was cut out leaving about 10mm excess all around to be planed back to the outline, finishing off with fine sandpaper. These yachts were hand-made so don't expect the outline to be a mirror image. A plank line was drawn around the circumference. The Western Star is unusual with the plank lines as it is one of two Star yachts to have a "King plank" and radiused plank lines, the other yacht being the Baltic Star. A pair of lines 1/2" apart are drawn centrally and then using a radius drawing tool, the outer plank lines are scribed. Two strengthening pads were made of ply to be glued underside of the deck for the mast mount screws and the rudder tube using the old deck for size and positions.
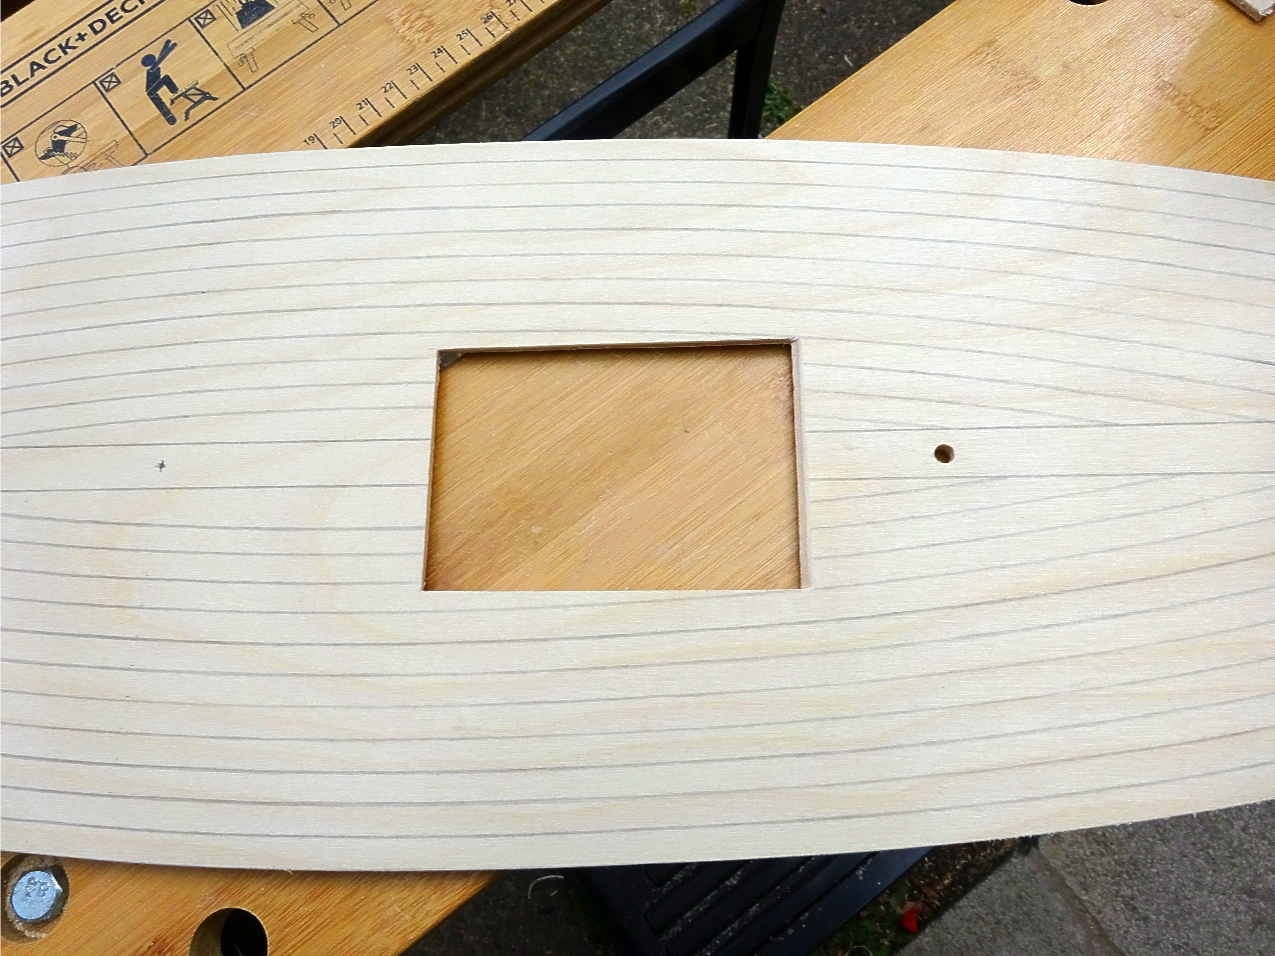
Next is to make the removable hatch for access to the on / off switch and battery charging. The size I am making is 100mm x 70mm as this is ample for access to the on / off switch, recharge cable and should I need to, enough room to remove and replace a servo or battery. Measuring the open hull from the bow to just in front of the receiver and switch, transferring this measurement to the deck and then adding the hatch measurements using the plank lines for centralising. You will notice in the photo that I have already drilled the position of the rudder tube as another guide to positioning the hatch.

I chain drilled the hatchway inside the marked area and then using a Dremmel with a circular saw bit, carefully cut the four sides leaving enough clearance to be filed back to the marked lines. The rear edge of the hatchway is profiled to a 45 degree slope to aid with closure.

Using the shape in the deck, a piece of ply was cut down and finely finished to fit snugly into the aperture.
The parts of the hatchway;
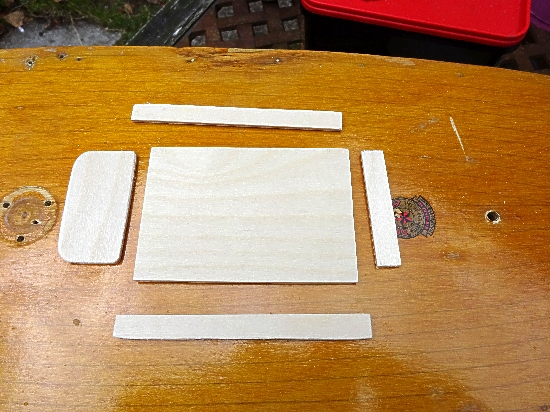
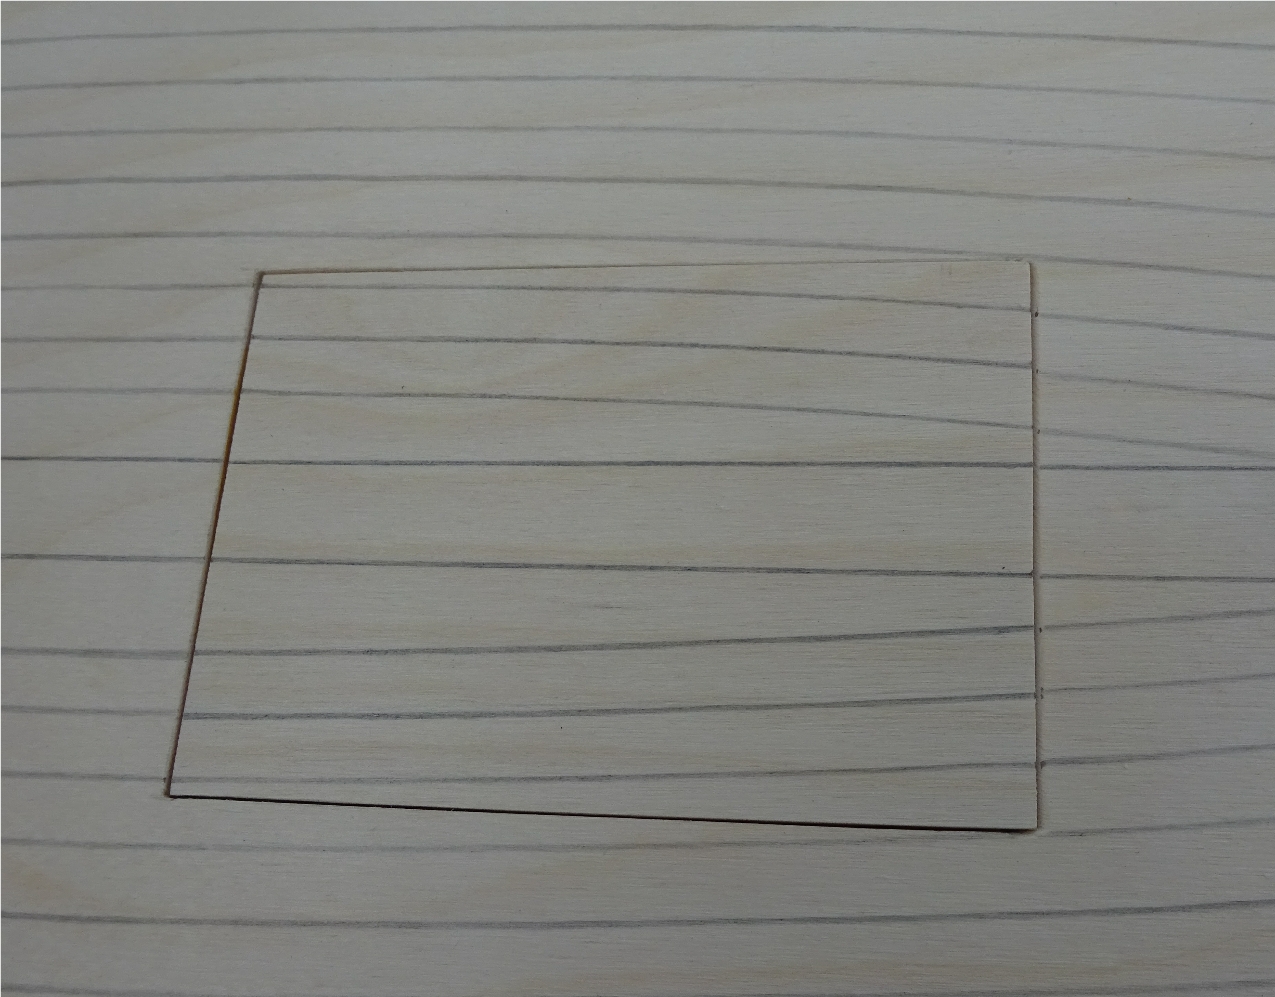
Three edgings were glued underneath the deck around the rear and both sides of the aperture, when dry this was used as a base to rest the hatchway on and glue the "Tongue" to the underside of the hatch itself, pointing forward. When dry, the missing plank lines were scribed to the hatch top so that it fitted in with the surrounding deck pattern. A spring clip will be added to the hatch later on.
PART 4 The Rudder And Linkages.