Scribing Plank Lining
There were two types of lining, straight parallel lines and radiused curved lines, the former can be found on both pre-war models and post-war models. The radiused lines are found from the 1930s to the late 1970s on the Racing Special models as well as the larger SB models, typically the Baltic, Ocean and Western Star with the rounded stern.
Spacing between the lines varied a bit, with the pre-war being narrow 5/16" (8mm), post-war went up to 3/8" (10mm) but some smaller yachts varied in-between these values. The early yachts lines were drawn in some cases freehand and the spacing can vary from plank to plank, very late models used a template to mark to deck with dots as a guide before drawing the lines.
All hollow decked yachts started with a perimeter line inwards from the deck edge.
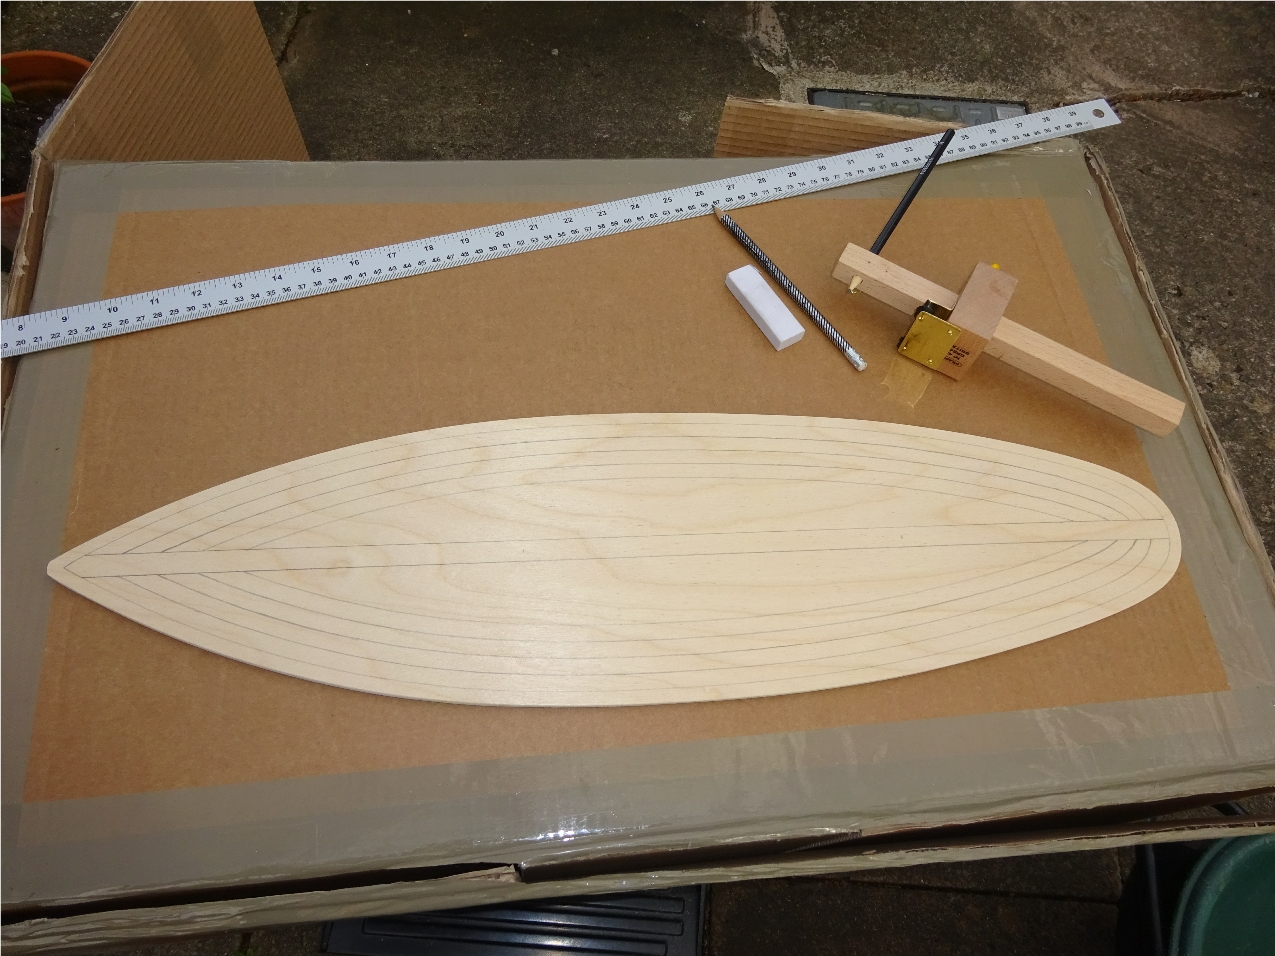
The procedure for the two types of lining are different, for the straight lines, just a pencil, straight metal rule and an eraser are needed. For the radiused lines, a special marking gauge is used. Don't forget a pencil sharpener.
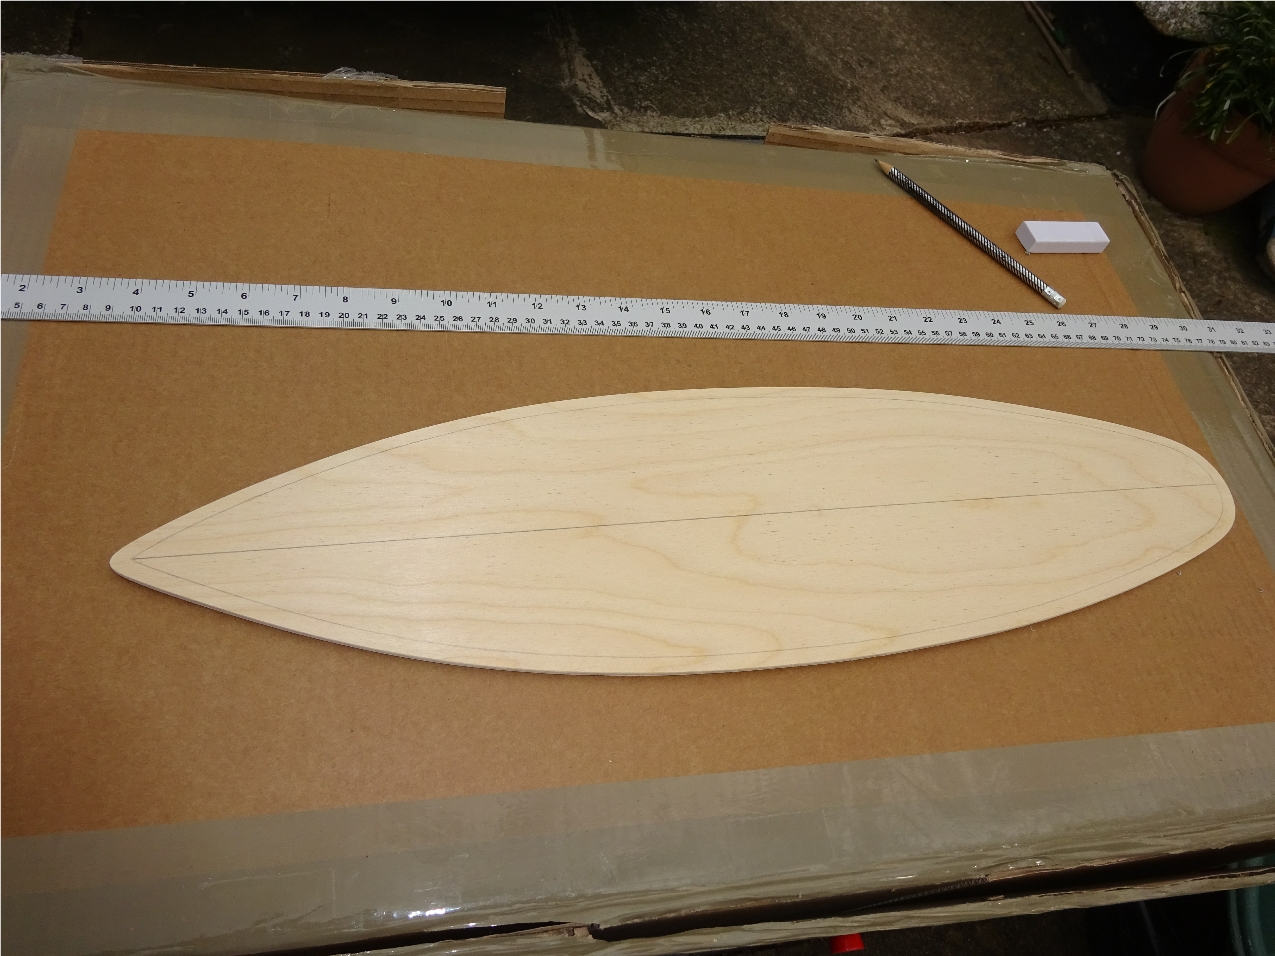
Straight Lining
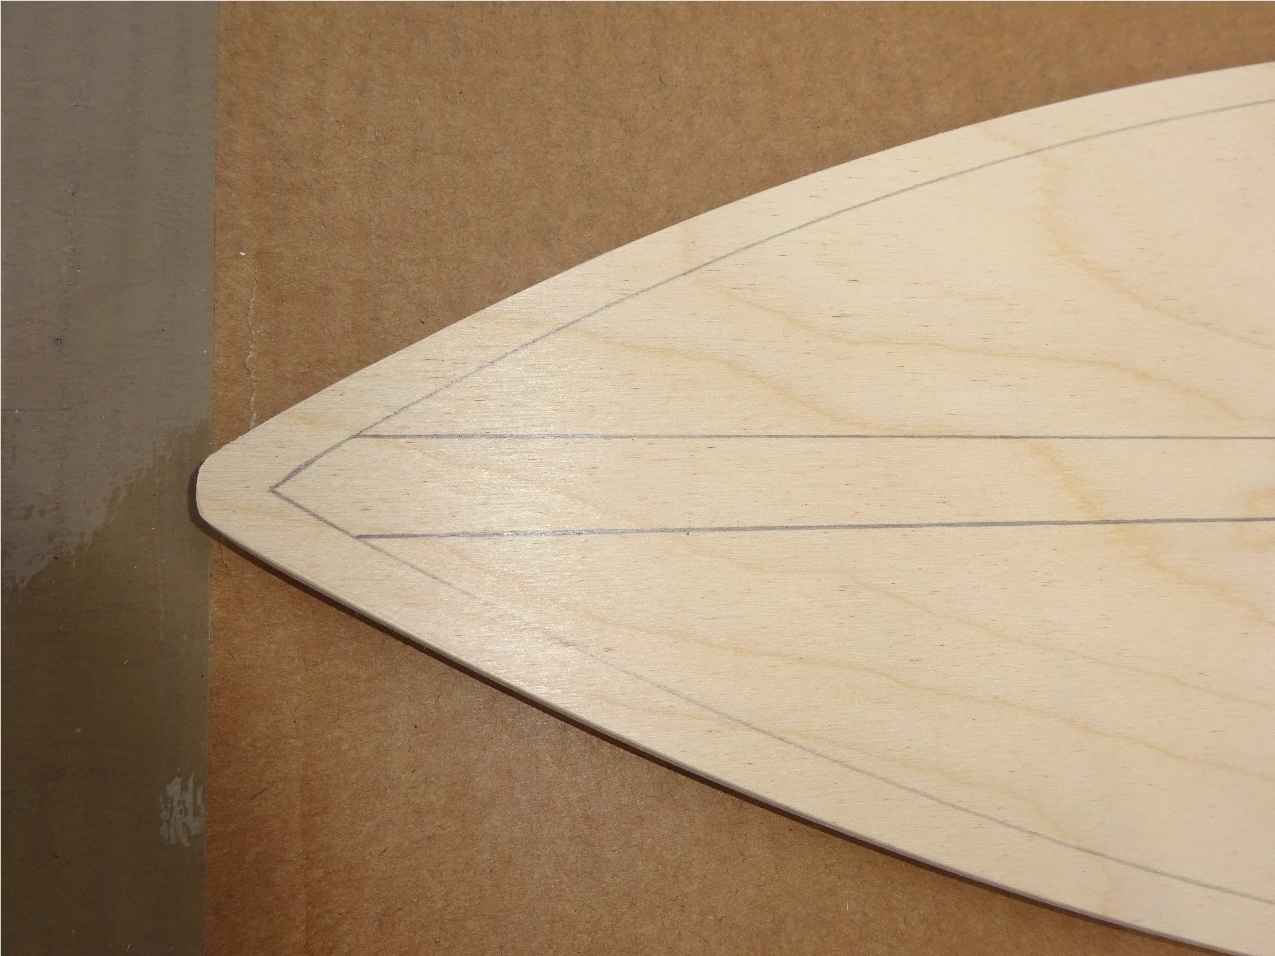
Start with a perimeter line around the deck about 3/8" (10mm) in from the edge. Then measure across the stern area and mark a centreline point, use the rule to connect from this point to the point of the bow where the lines meet up and draw a line from bow to stern inside the perimeter line, this is your centreline.
From this centreline, mark out with pencil two sets of dots either side at the spacing you require, in this case 3/8" (10mm) about a third of the hull length in from the bow and the stern.
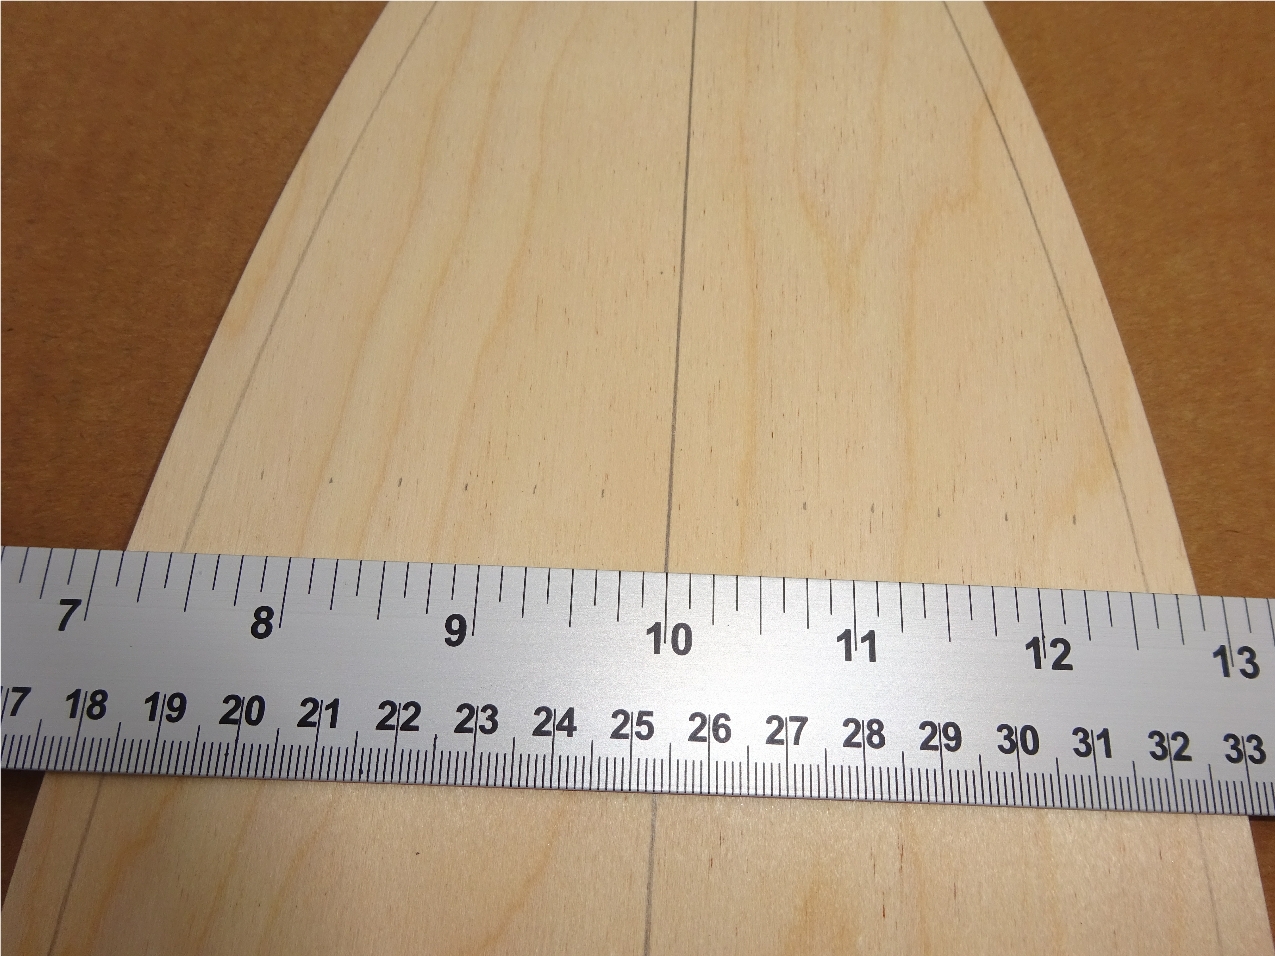
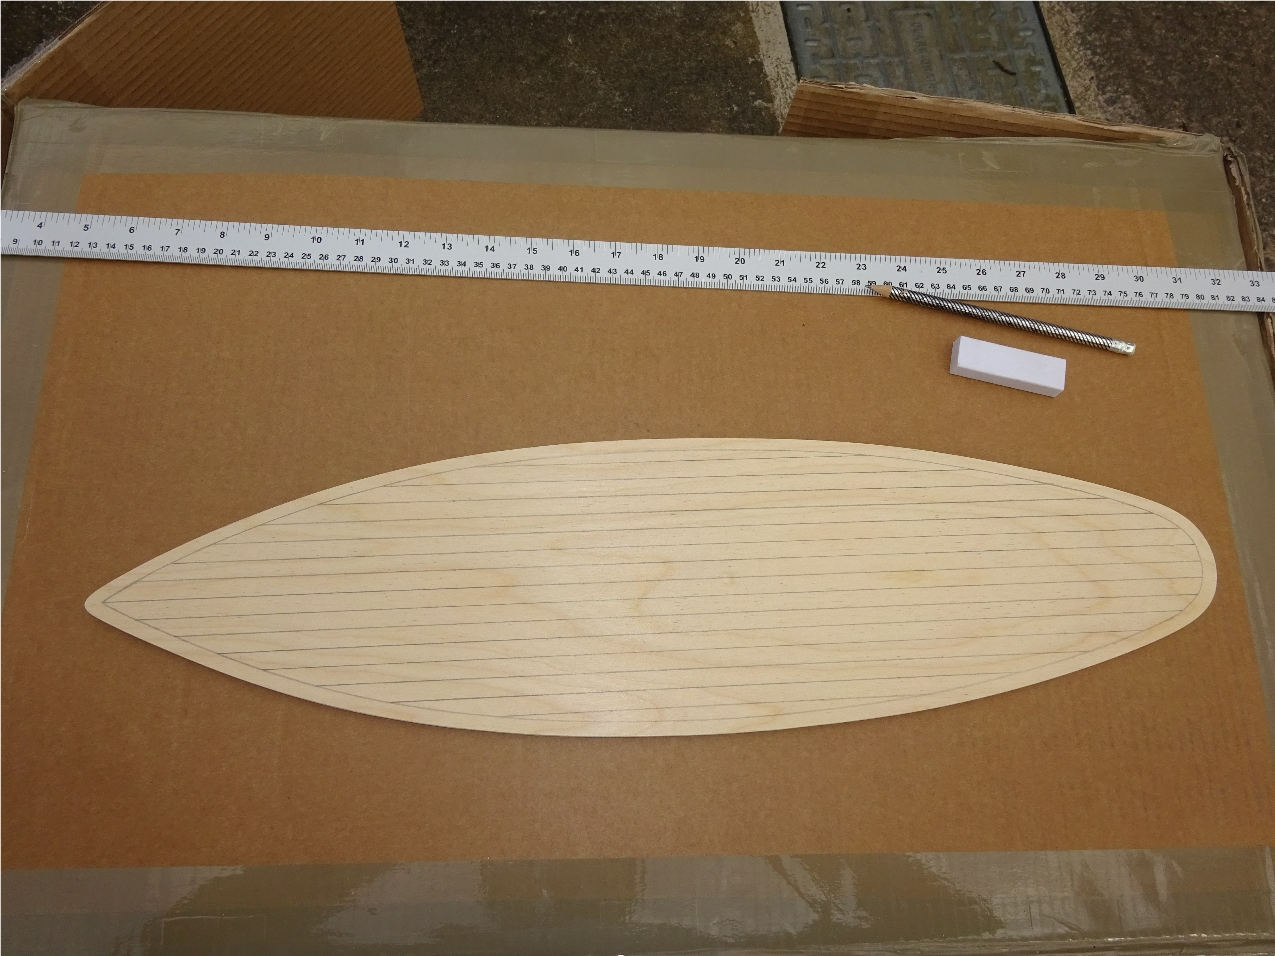
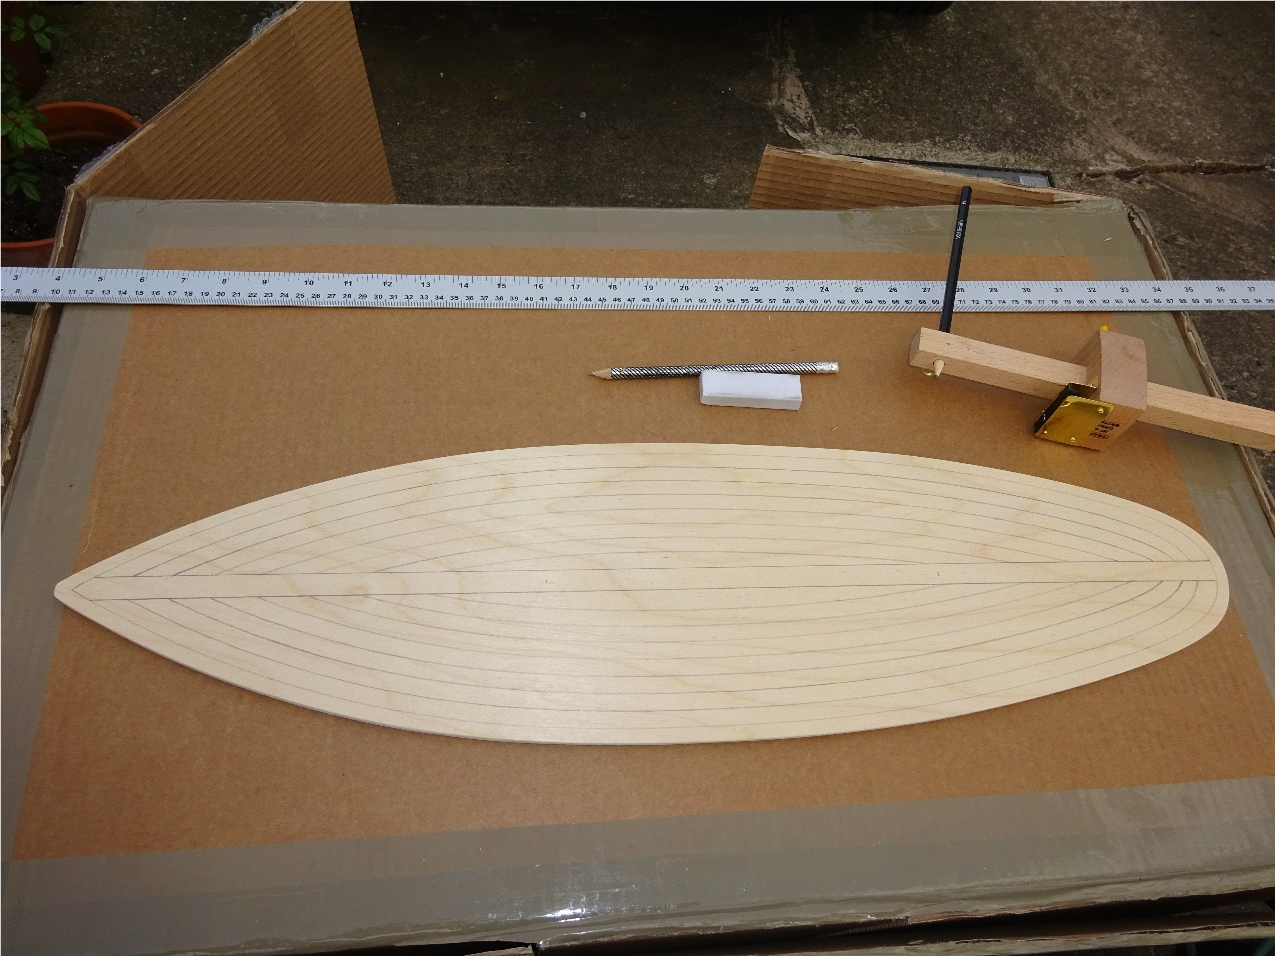
Now using the rule, draw a series of lines from the centreline outwards, first one side.
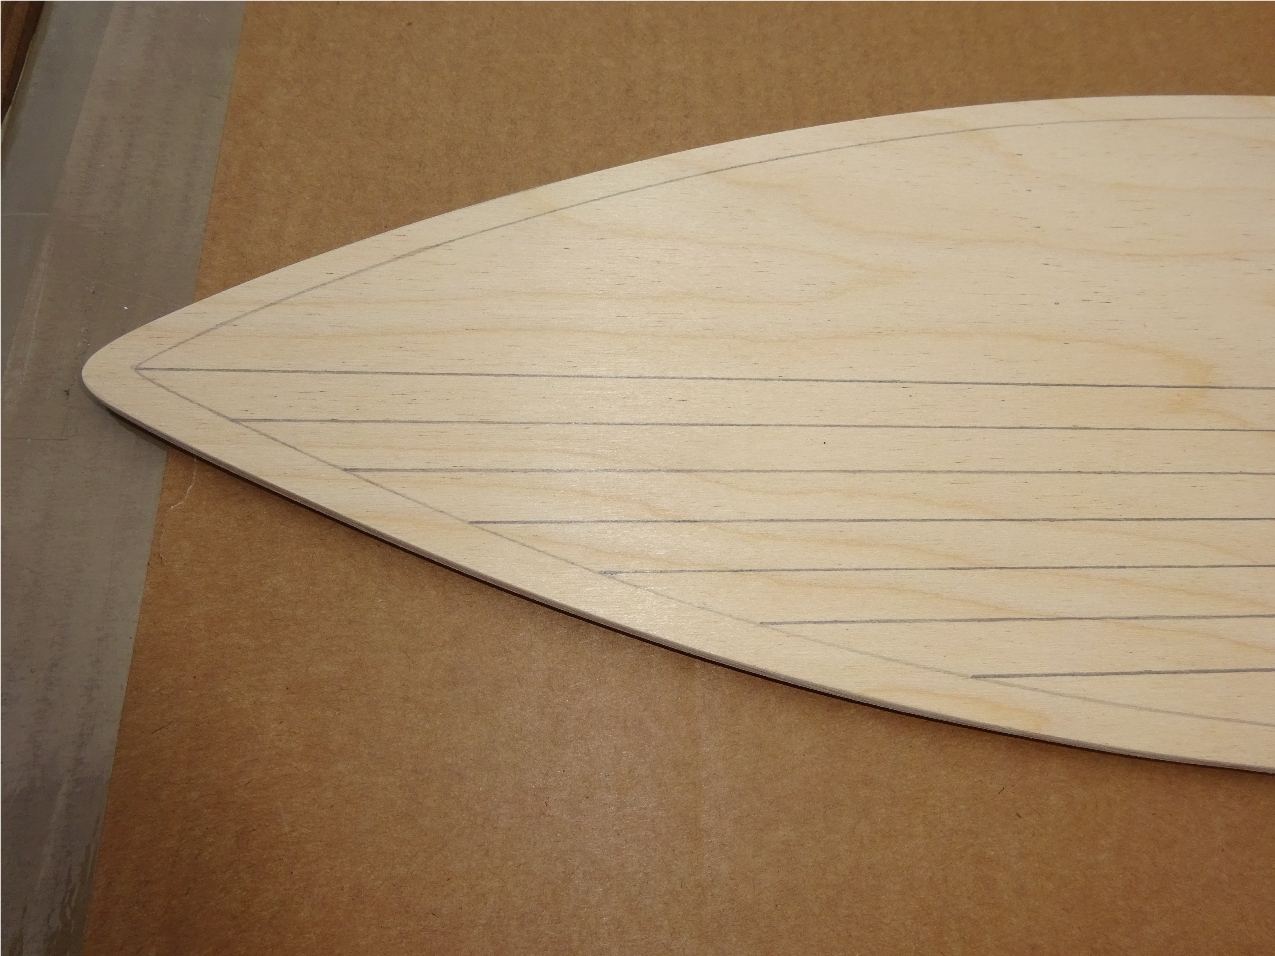
Then the other, you may have to separately mark the last line or two towards the edge.
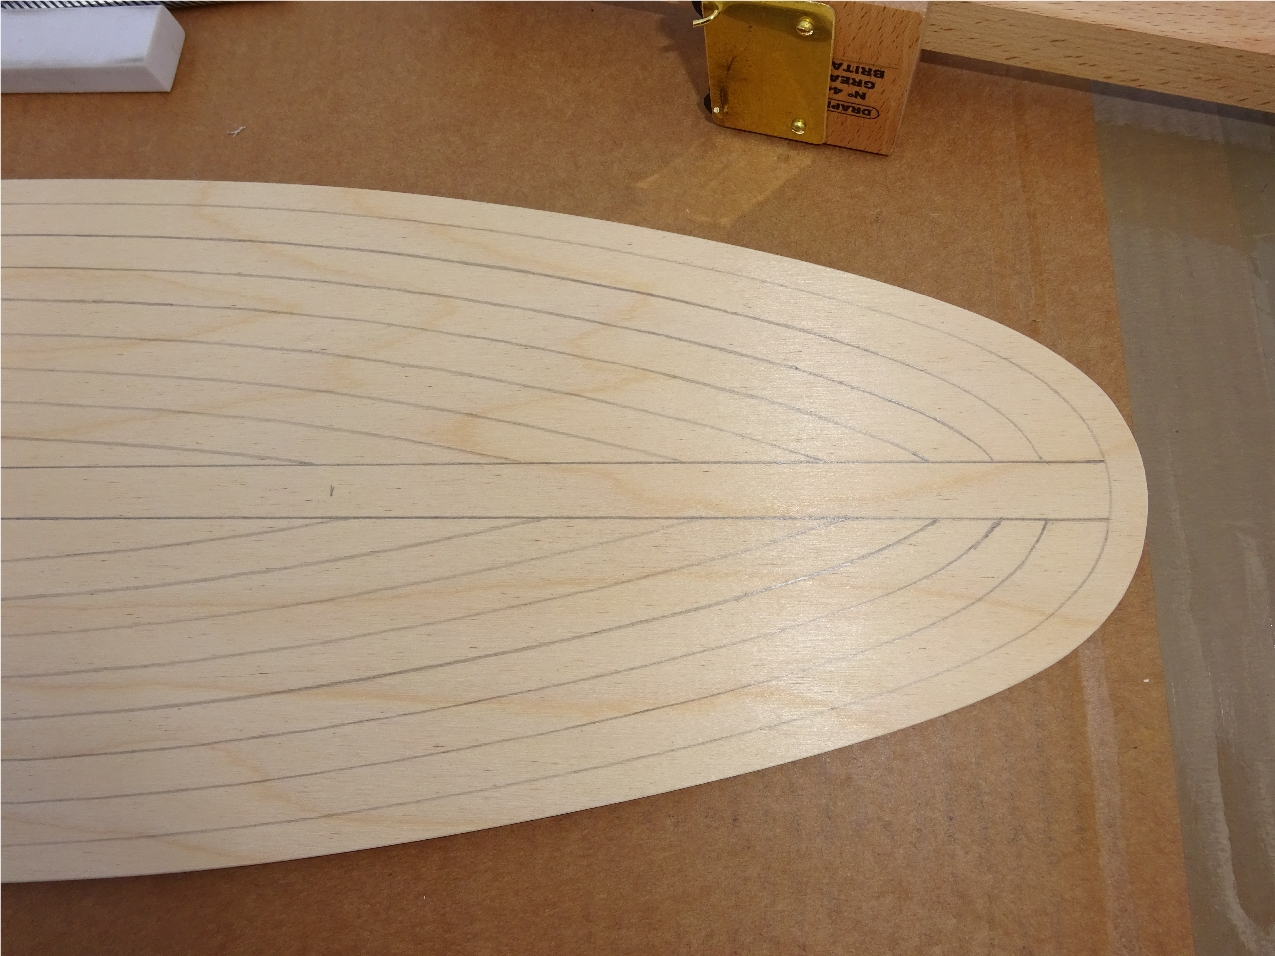
Radiused Lining
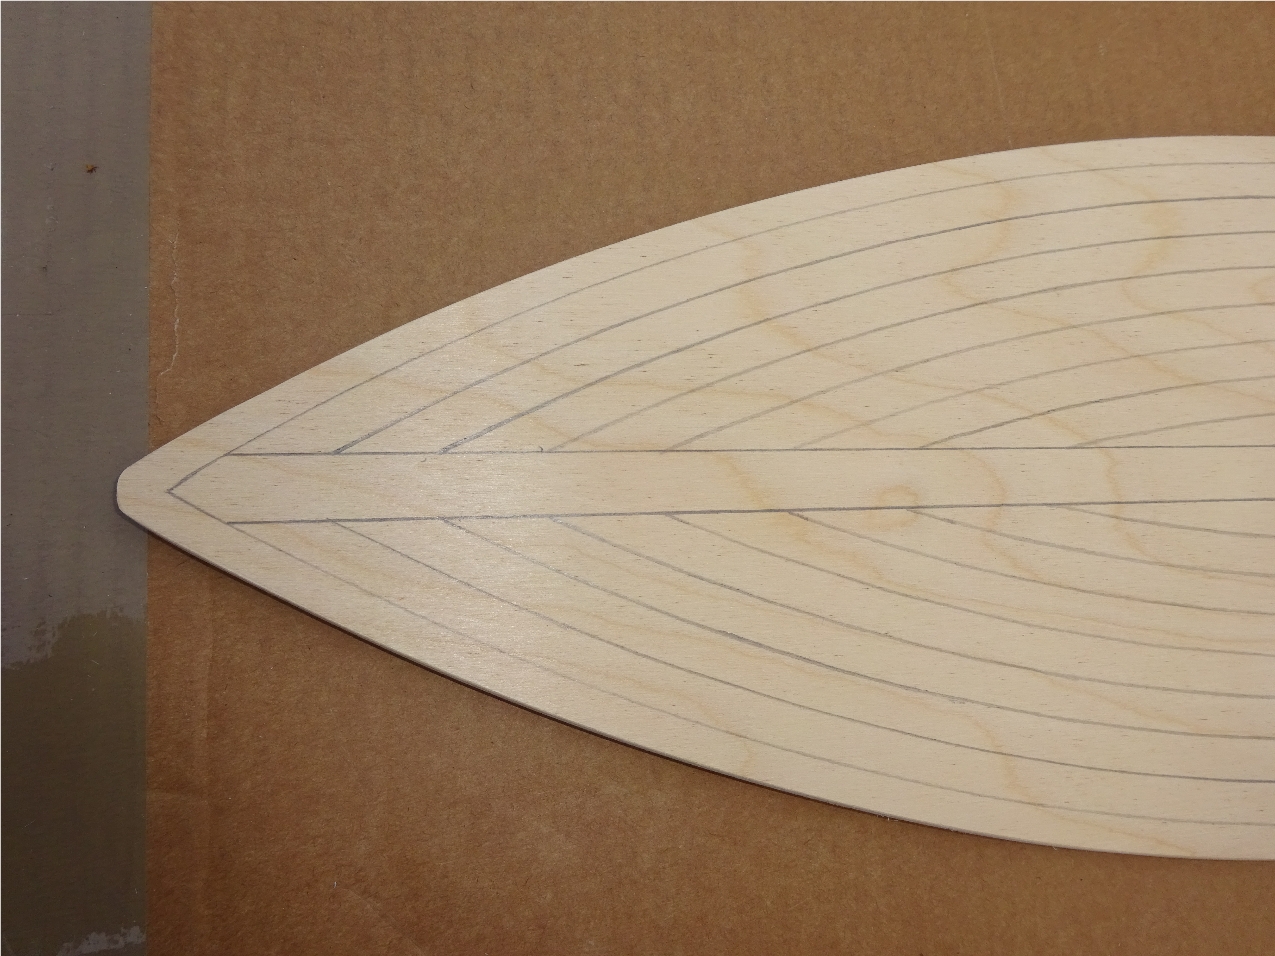
Start with a perimeter line inwards from the deck edge about 3/8" (10mm). Here is the difference, radiused plank lined decks had a "King Plank" down the centre which is 1/2" (12.5mm) wide. Carefully mark the centreline with a pencil dot inwards from the bow and the stern, then mark outwards from these dots 1/4" (6mm) and from these new markings draw a line from bow to stern, the original centreline marks can then be erased.
From one of the King Plank lines mark outwards every 3/8" (10mm) then using the scribing tool adjusted to the deck markings start from the outside marking on one side, scribe a line going in only one direction along the length of the hull, with the same setting, scribe a line on the other side of the deck. Adjust the tool to the next inbound marking and repeat the line scribing and so on until you get to the centre of the deck. If your line marking is faint, it is okay to go back over it as long as you scribe the line in the same direction, this is to stop the pencil wandering from the original track.
The stern end curves can be a bit tricky to start with until you get used to using the scribing tool but you have the eraser for removing mistakes, it gets easier as you go inwards but a bit more pressure is needed on the pencil to match the line shading.
For solid yachts, follow this link; http://birkenheadstaryachts.co.uk/ocean_star3.htm