RC Conversion - SB/5 Western Star.
PART 5 - Replacing The Deck.
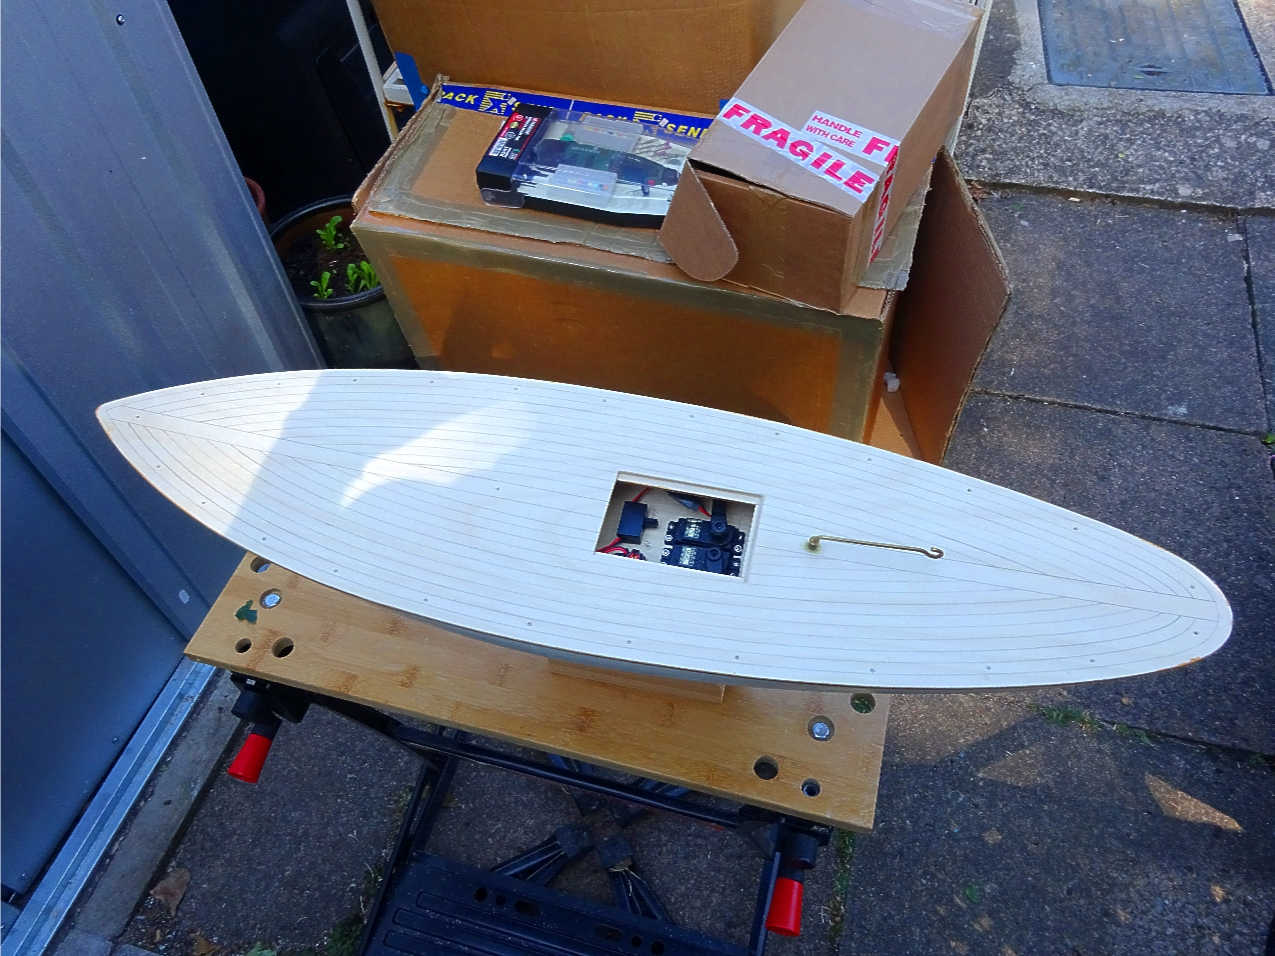
Starting with the deck, tap in a 13mm panel pin about 25mm back from the bow point and another two pins each about 25mm from the stern centre between the two outer plank lines (Look for positions in later photo). Leave the deck to one side. Take the hull and give it a coat of PVA or Cascamite glue if you have it, around the hull top edge, at the bow and stern area coat inwards for about 20mm.
Take the deck and locate it into position on the hull make a final check for being central and tap in the bow panel pin, press down the deck in the side areas to meet the hull and tap in the rear two pins. Working quickly, start from the stern and tap in a pin about every 50mm down both sides, be careful that the pins do not angle outward. When finished, countersink each pin with a pin punch.
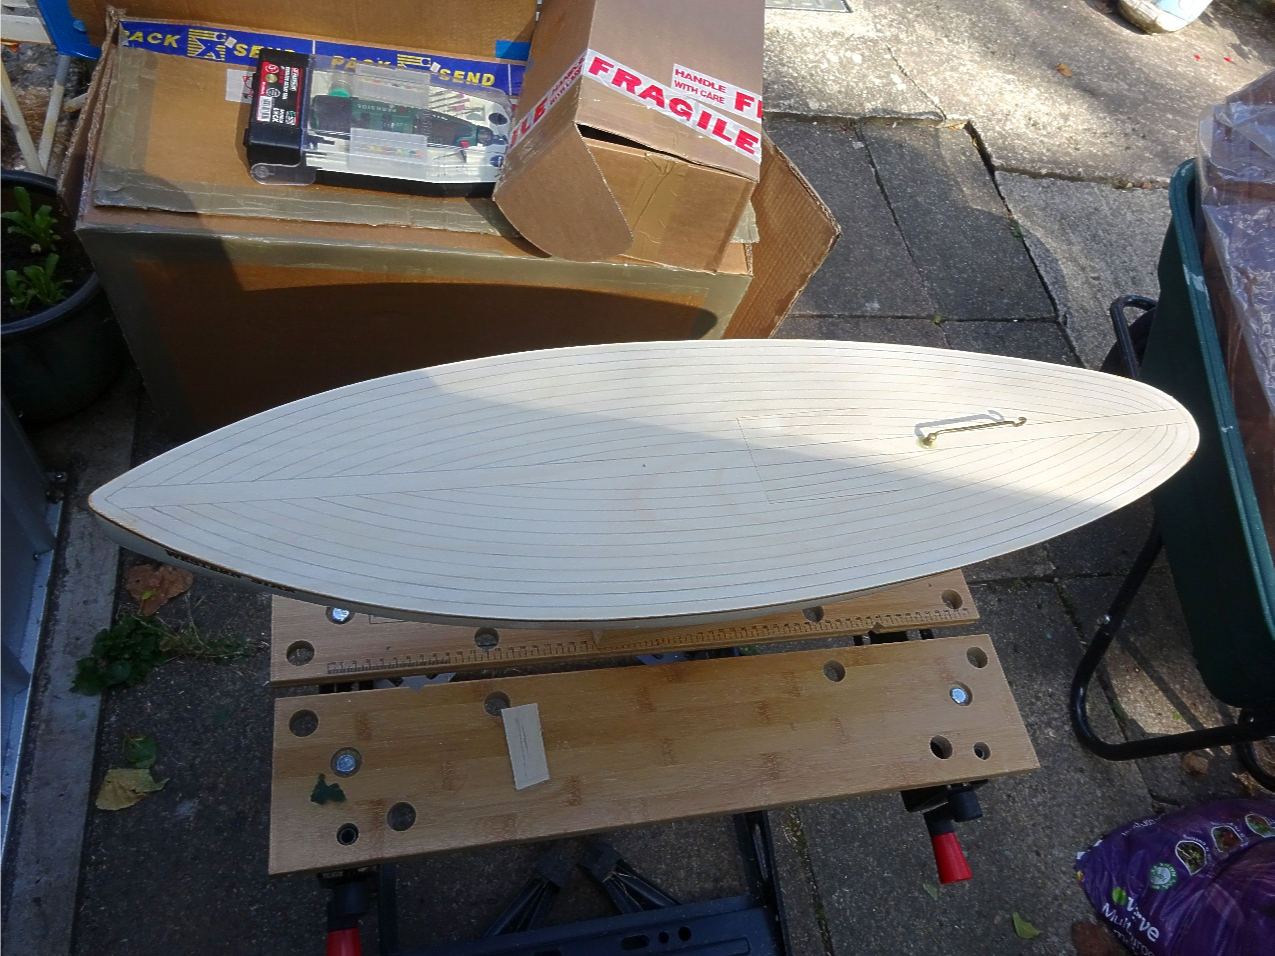
Go around each indentation and seal over with a quality wood filler such as Ronseal Natural, leave for a few minutes and then scrape or sand back to a flat deck.
The tiller servo arm can now be refitted and the fixing screw inserted.
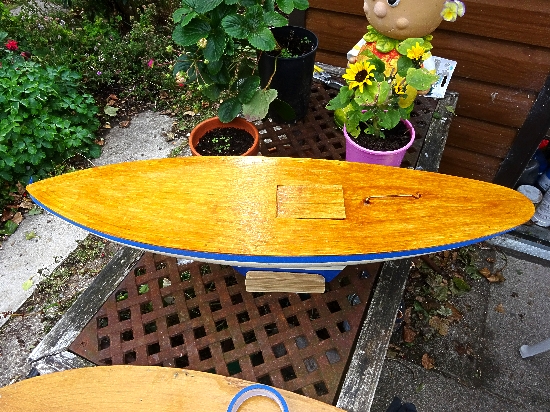
Next is to stain the deck, using shellac to give the deck a golden colour, I gave it and the hatch two good coats front to back with the grain and left overnight to dry thoroughly.

After drying, the deck was lightly sanded, again front to back with flour paper, a very fine version of sandpaper as the shellac tends to lift fibres in the plywood.
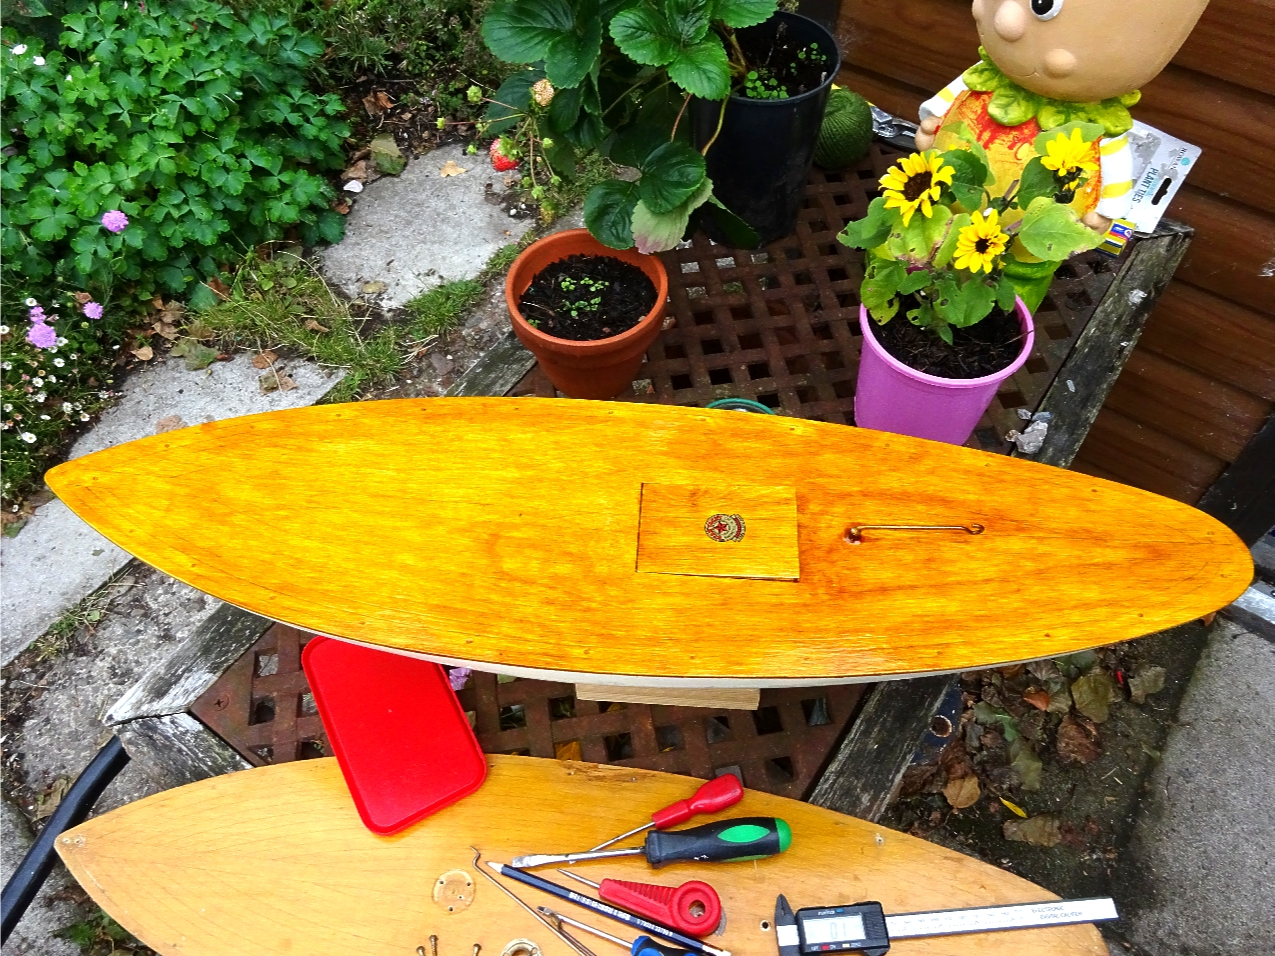
After masking around the deck edge, a first coat of yacht varnish was applied, use yacht varnish as it has a yellowish tint to it, use the best you can, I am using "International" varnish.
Once applied, it was left overnight to harden. Checking that the hatch still fitted in the aperture easily, it was necessary to sand back the varnish to get a loose fit. A Star deck badge transfer was applied at this point and left to dry. When dry, a second coat of varnish was applied and again left overnight to harden.
PART 6 Deck Furniture And Rigging.